GYODI INTRODUCTION
WELCOME TO THE BETA LAUNCH OF GYODI 1.0. This guide walks you through how to use each of our features.
Feature list
001. e-commerce imagery
002. Create a model
003. Sketch to image
004. Video
005. Edit (Early version
006. Upscaling
001. E-COMMERCE IMAGERY

Craft compelling product images that capture your collections with realism and high detail.
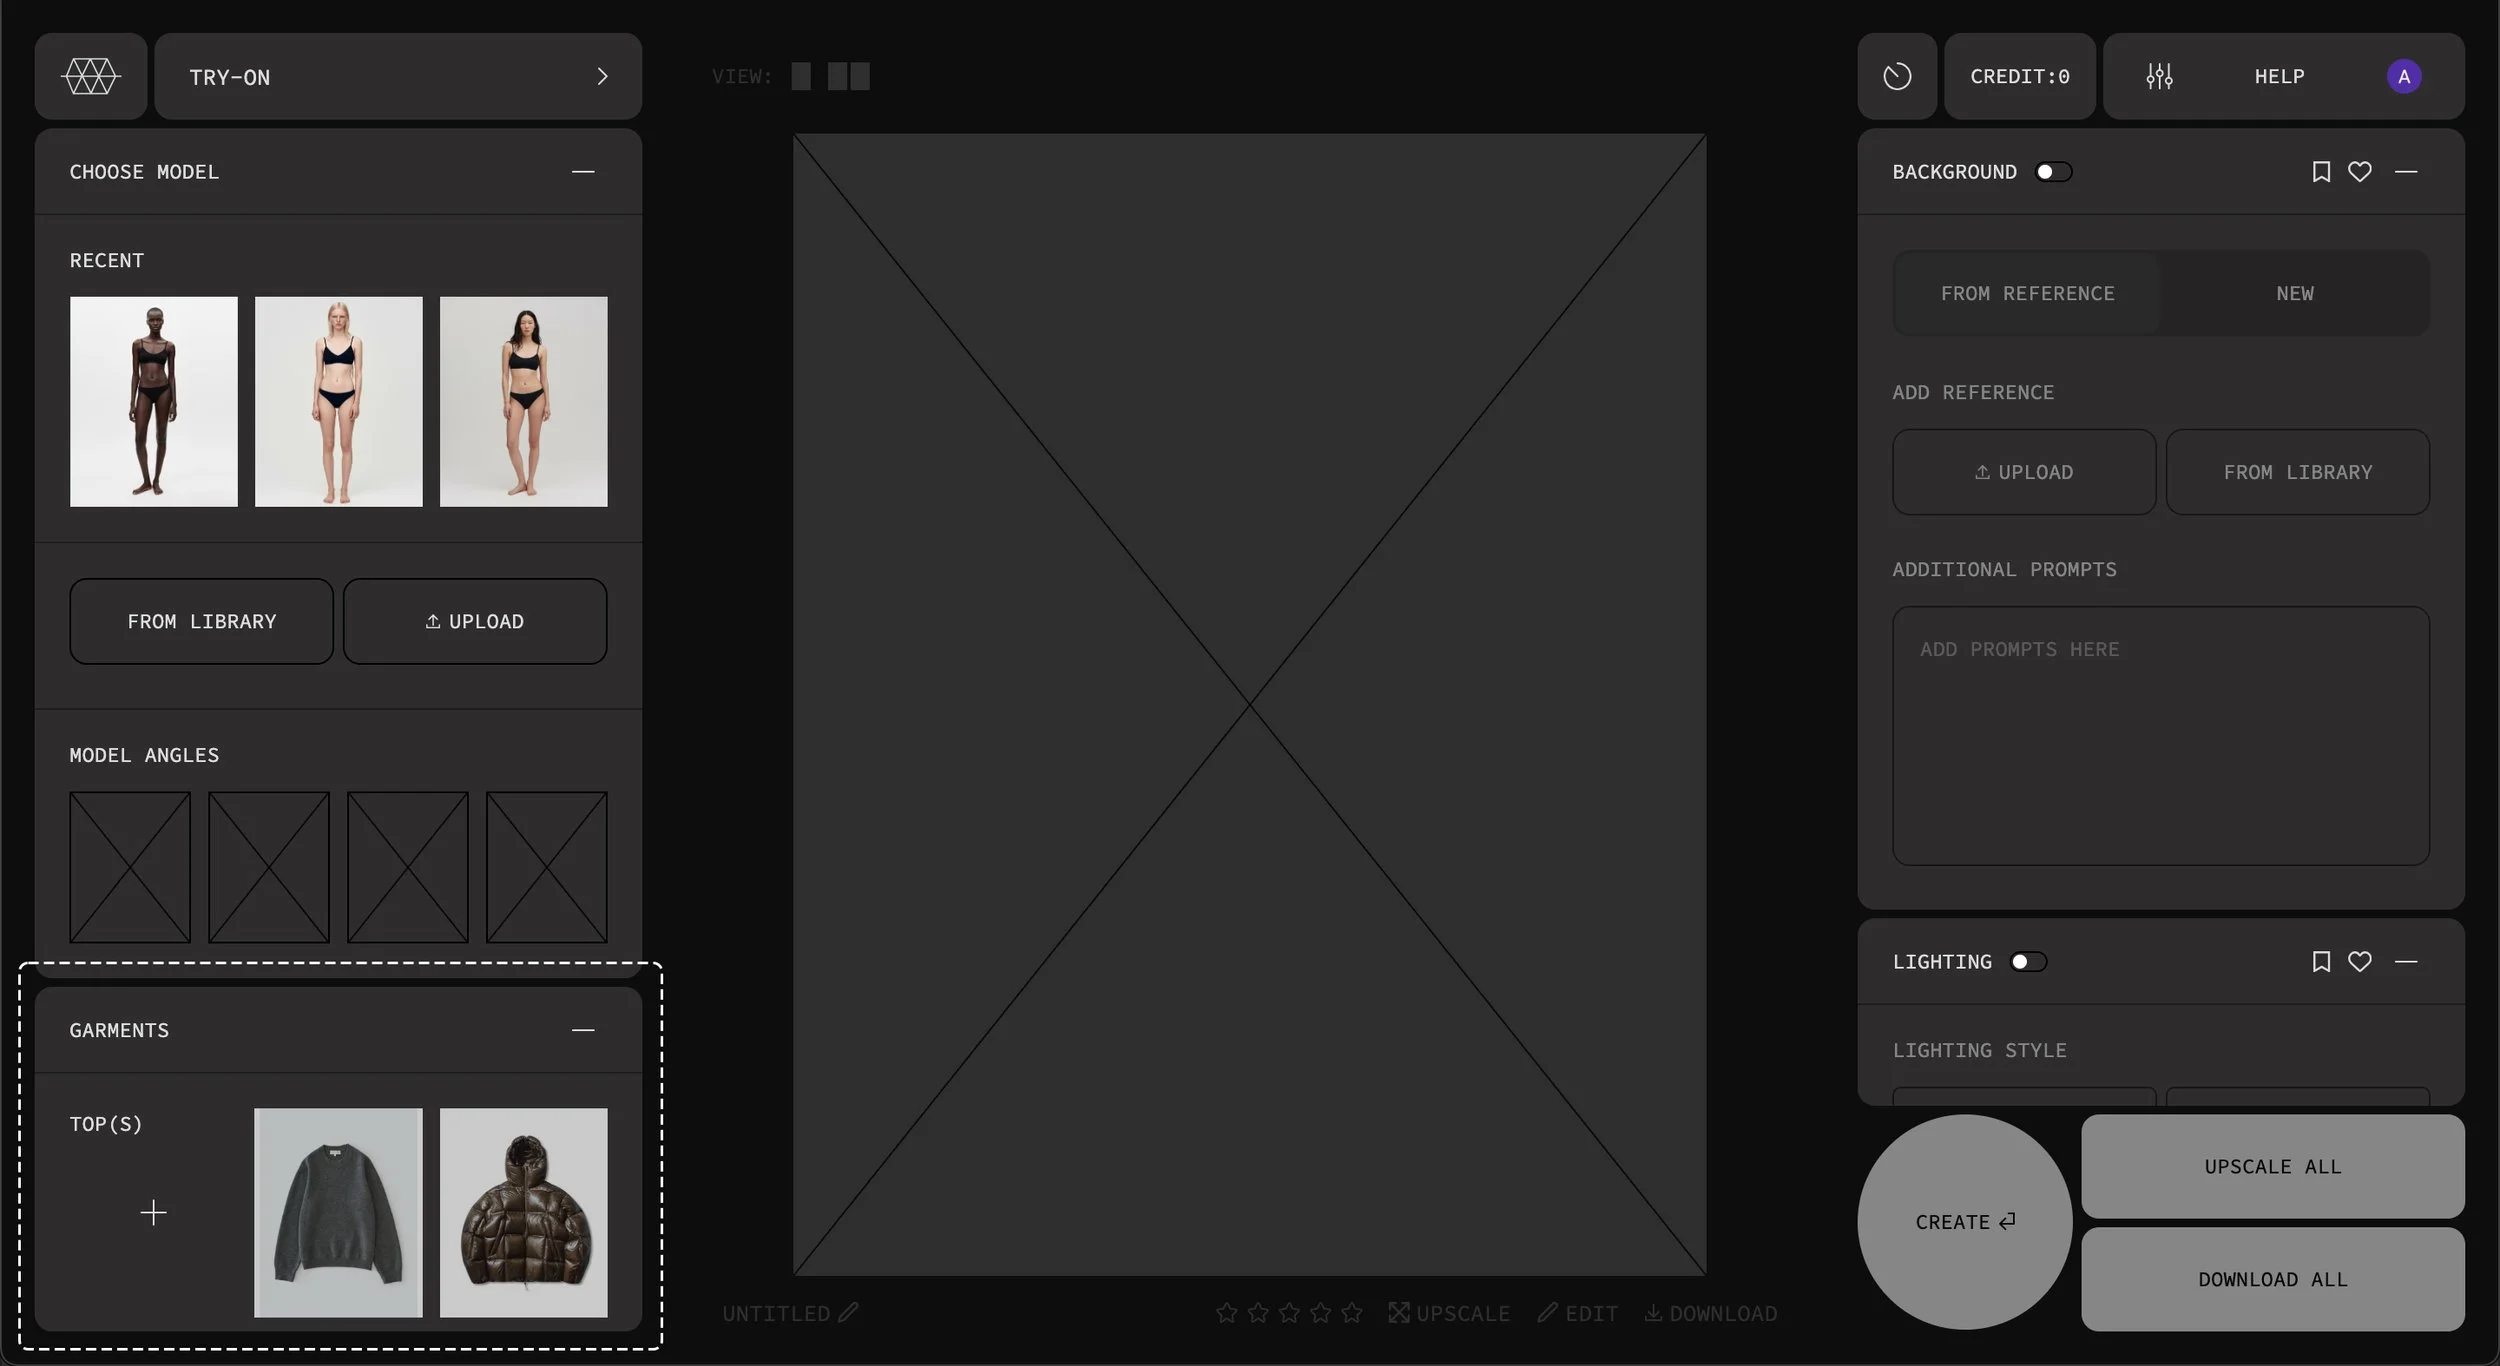
1. THE FIRST STEP IN CREATING E-COMMERCE IMAGERY IS TO CHOOSE YOUR MODEL. YOU CAN SELECT FROM OUR GYODI MODEL LIBRARY, UPLOAD YOUR OWN MODEL OR CREATE YOUR OWN MODEL IN OUR CREATE A MODEL FEATURE (SEE BELOW)

2. Select your garments. YOU CAN SELECT FROM your LIBRARY or UPLOAD YOUR OWN garments. Once you have selected a garment you have the option to add a text prompt describing how you want the garments to fit e.g regular or oversized.
3. Choose the ratio that your image will be created in.

4. Select your background (If you leave this section turned off the background will default to a solid light grey. You can create a new background or upload an existing background image.
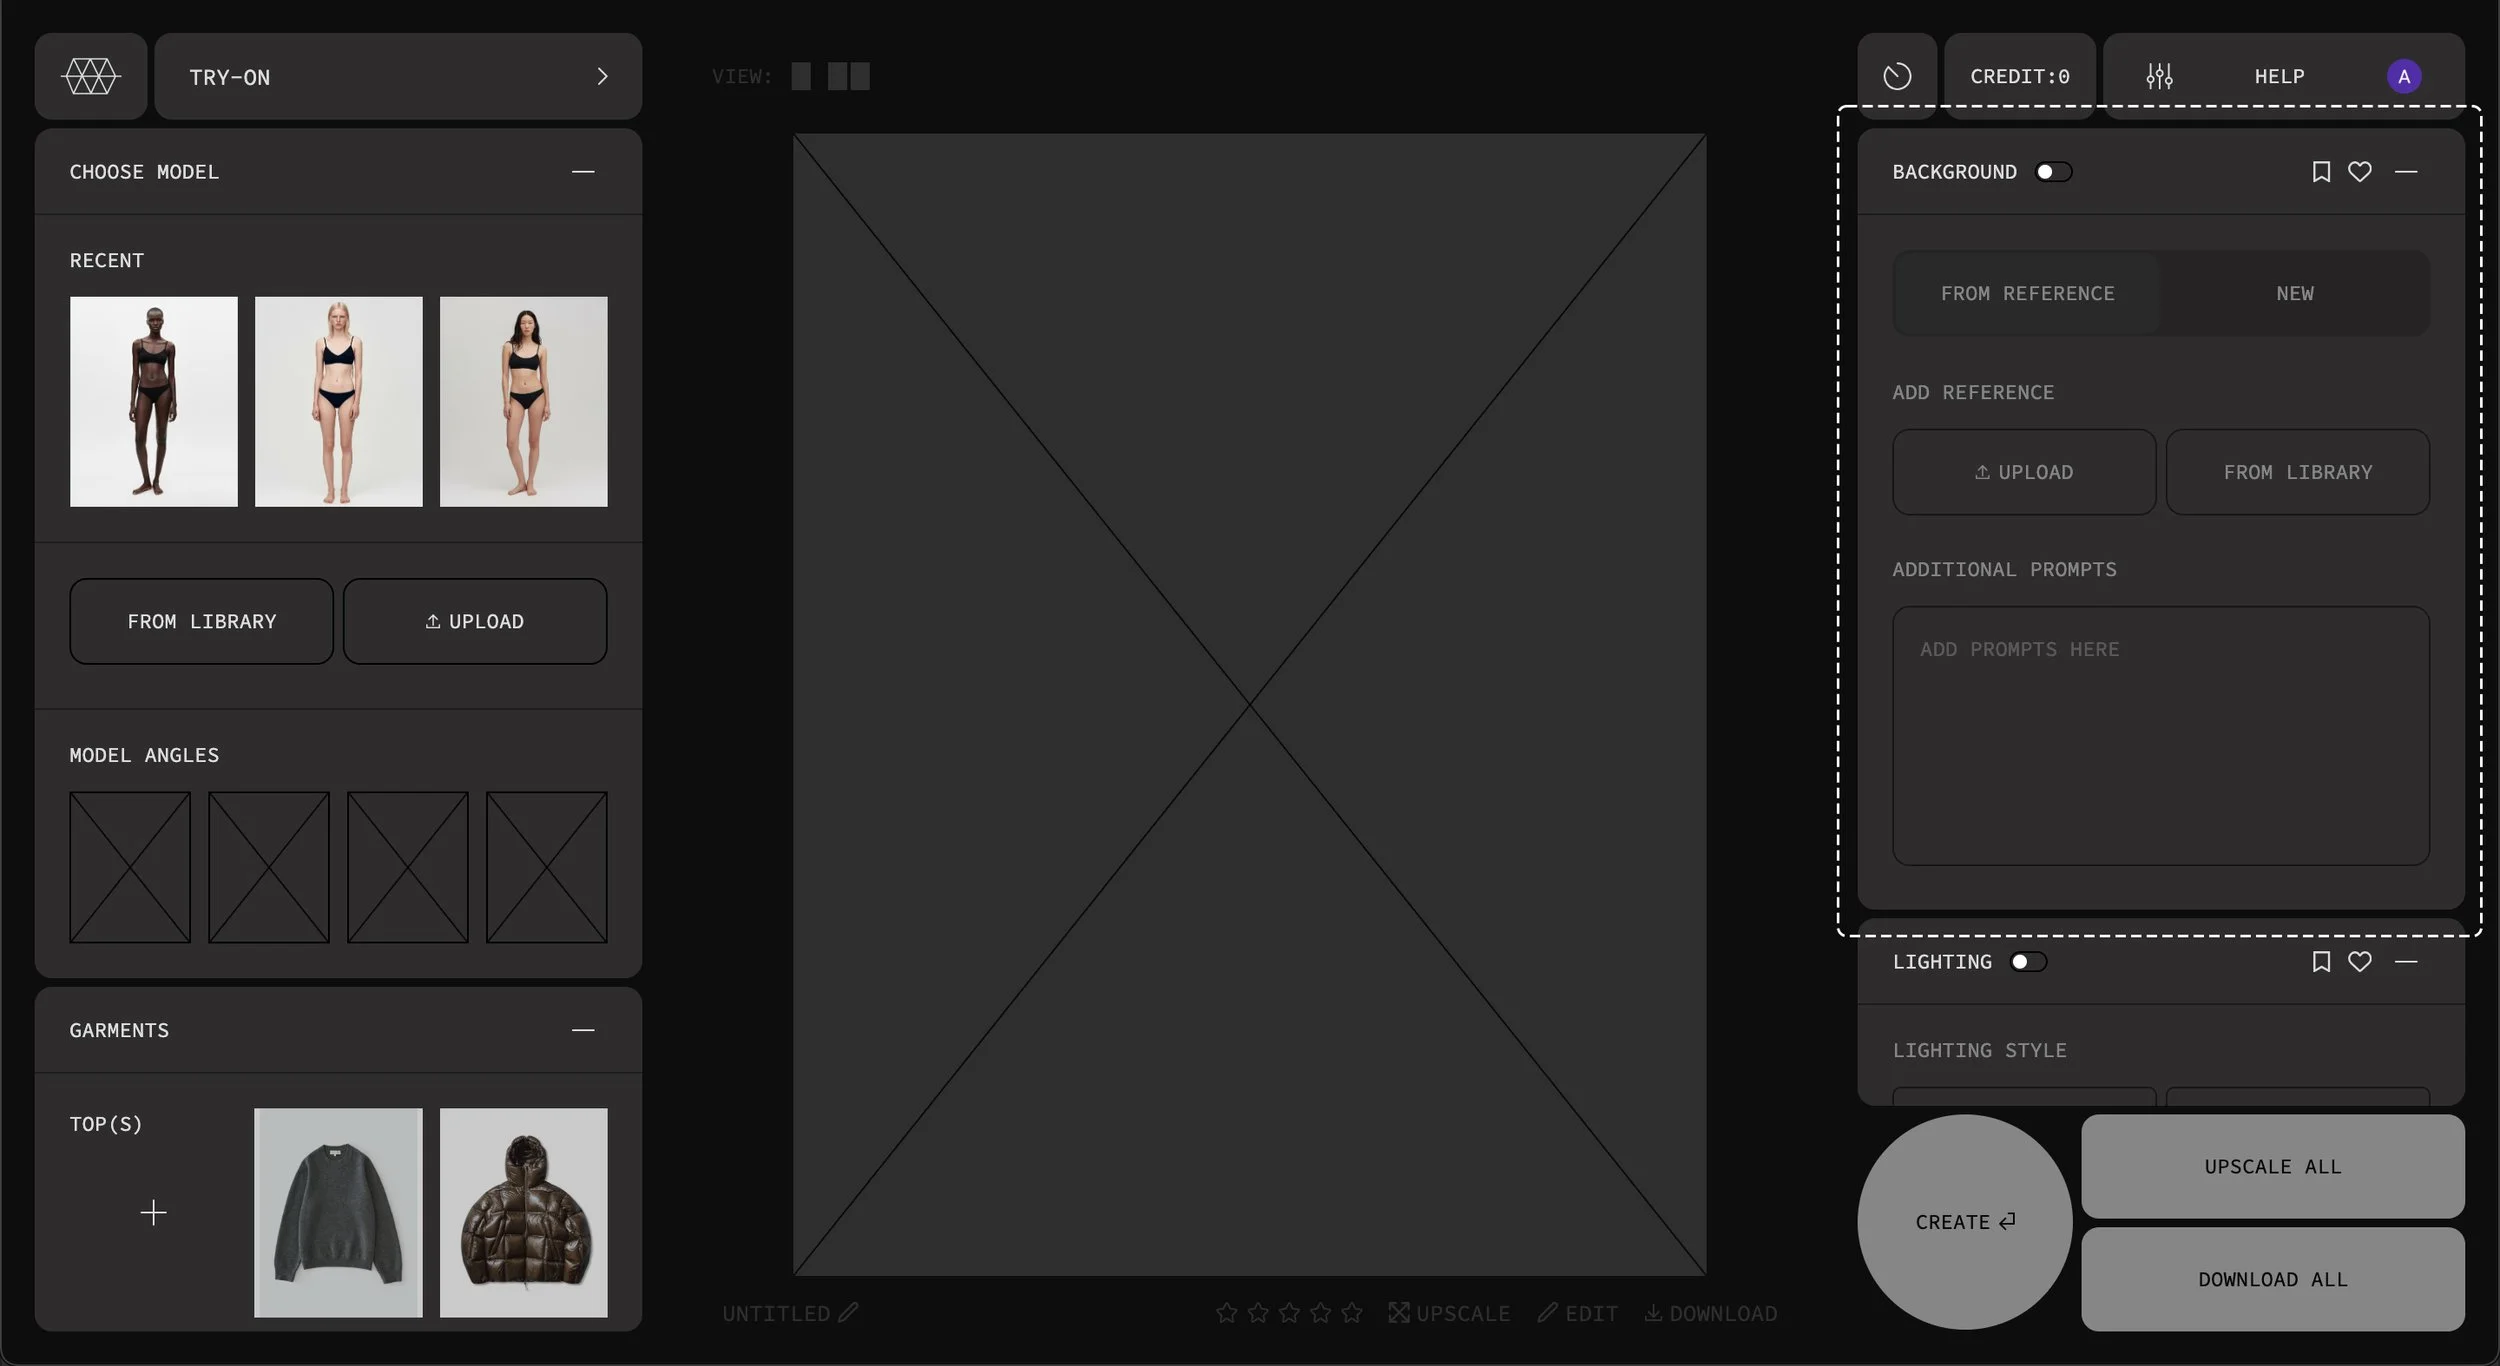
5. Choose your lighting style and lighting direction(multiple angles available)
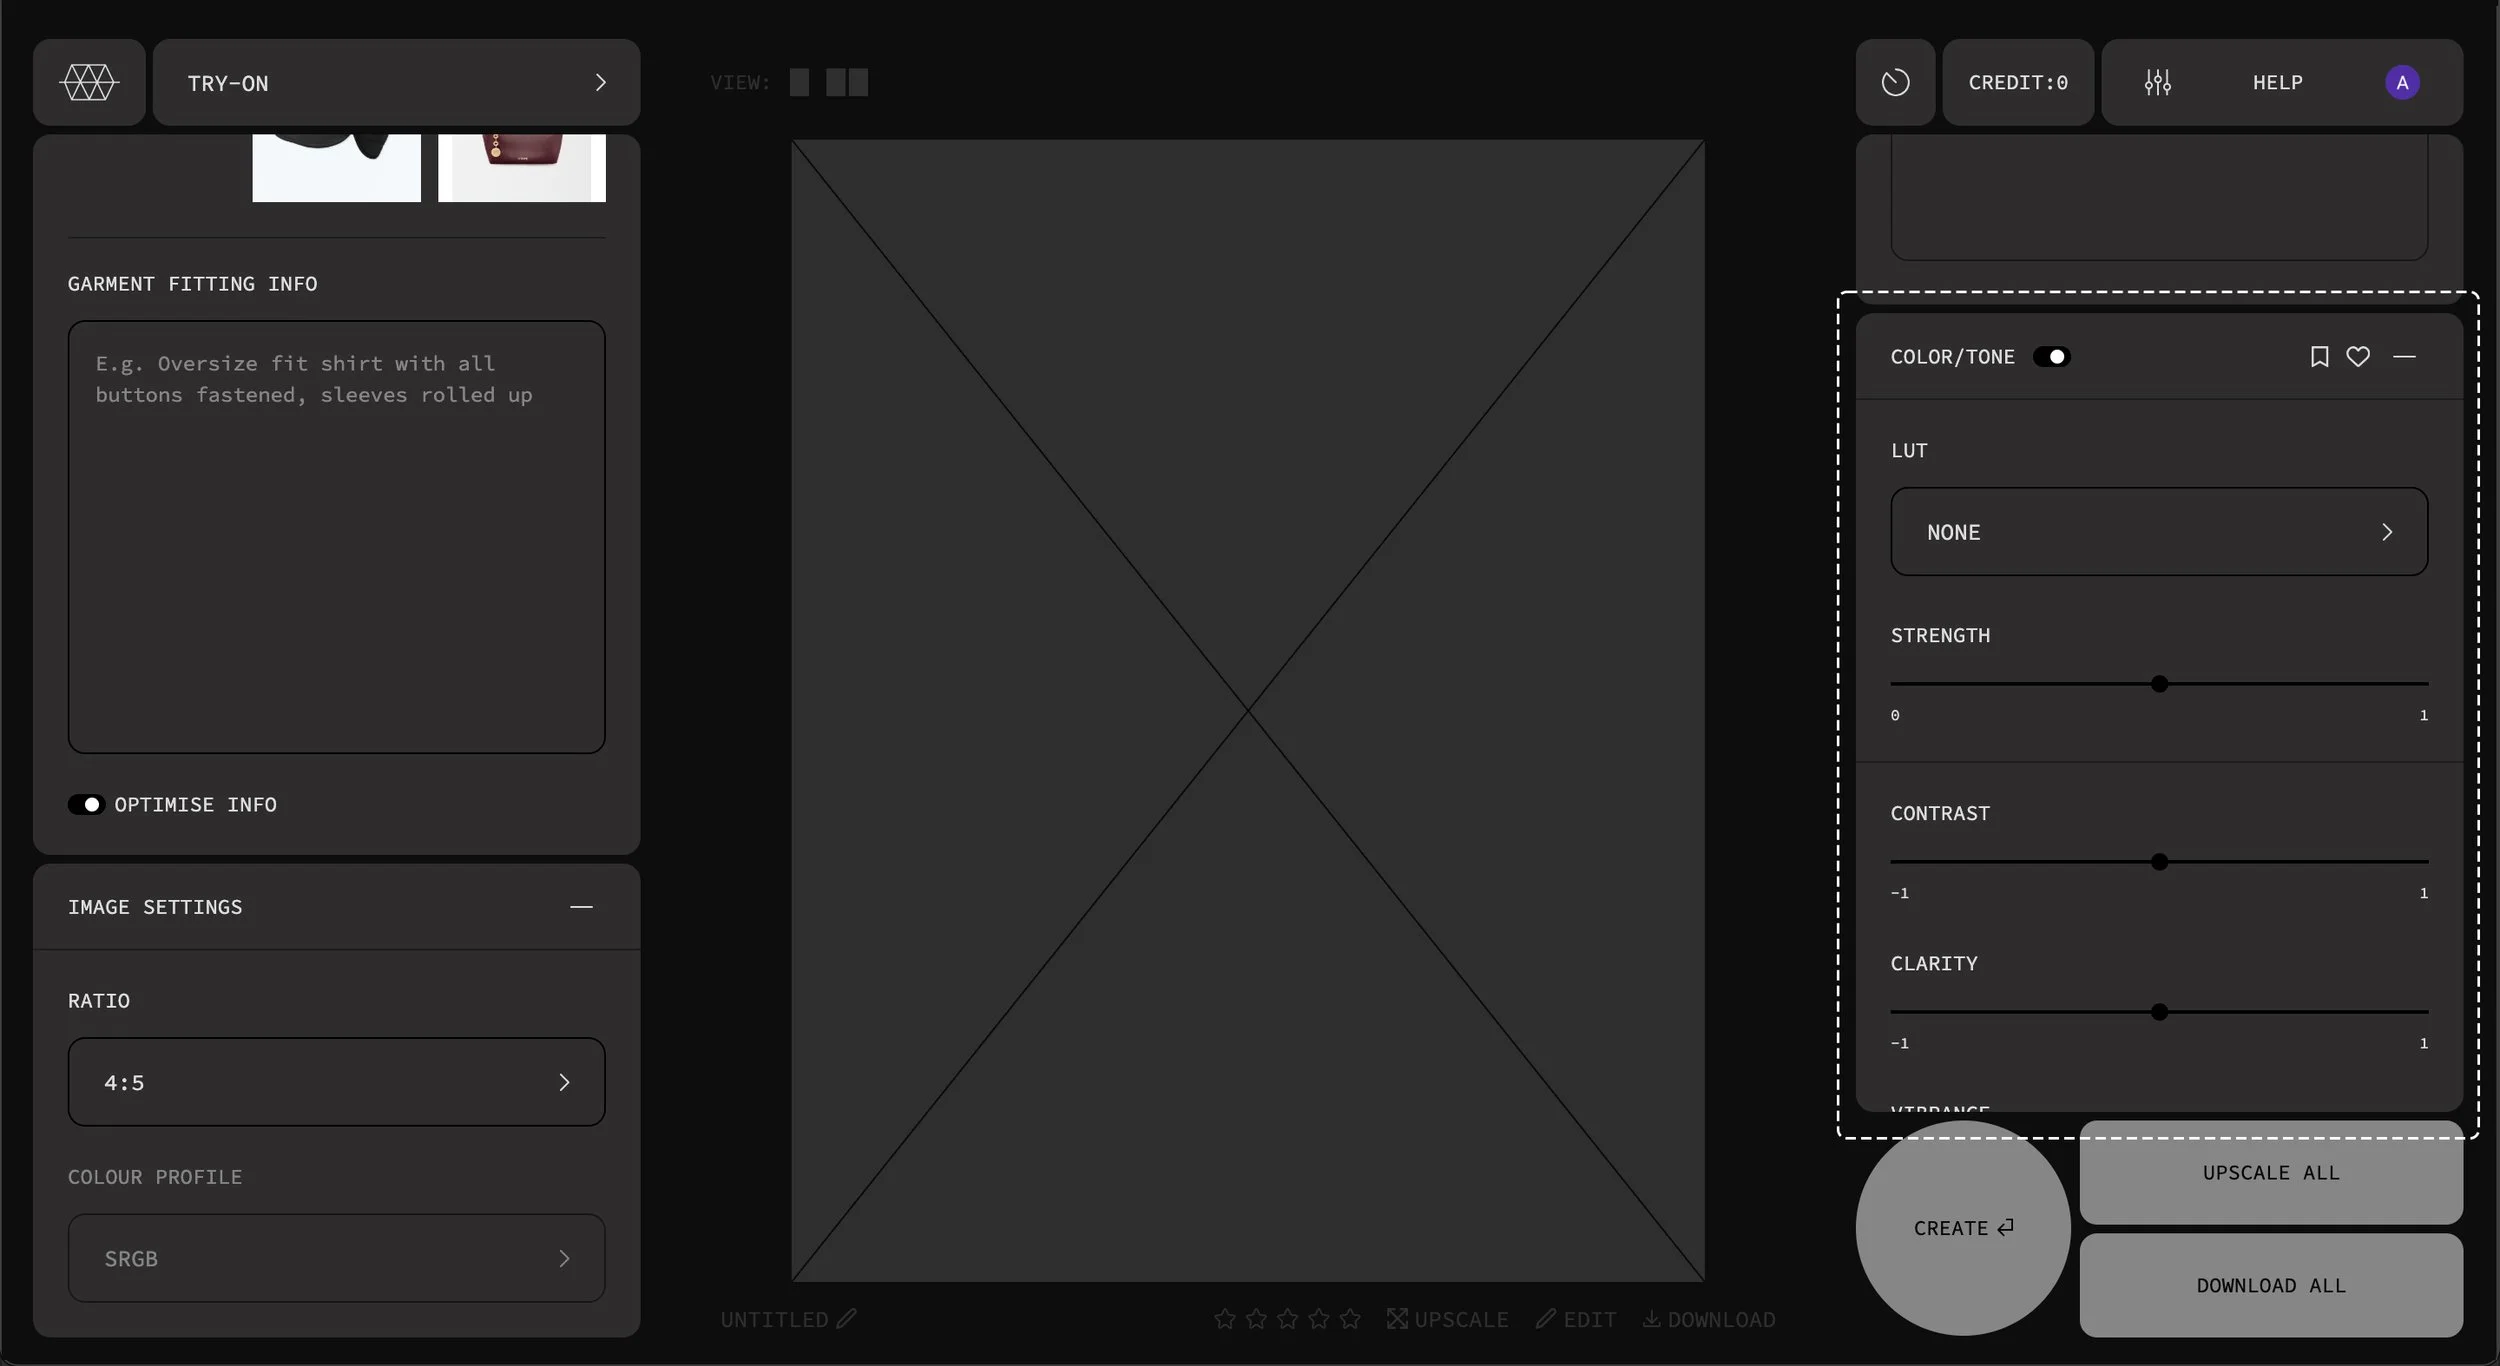
6. Make adjustments to the colour and tone of the image (These settings can also be applied once the image is created)
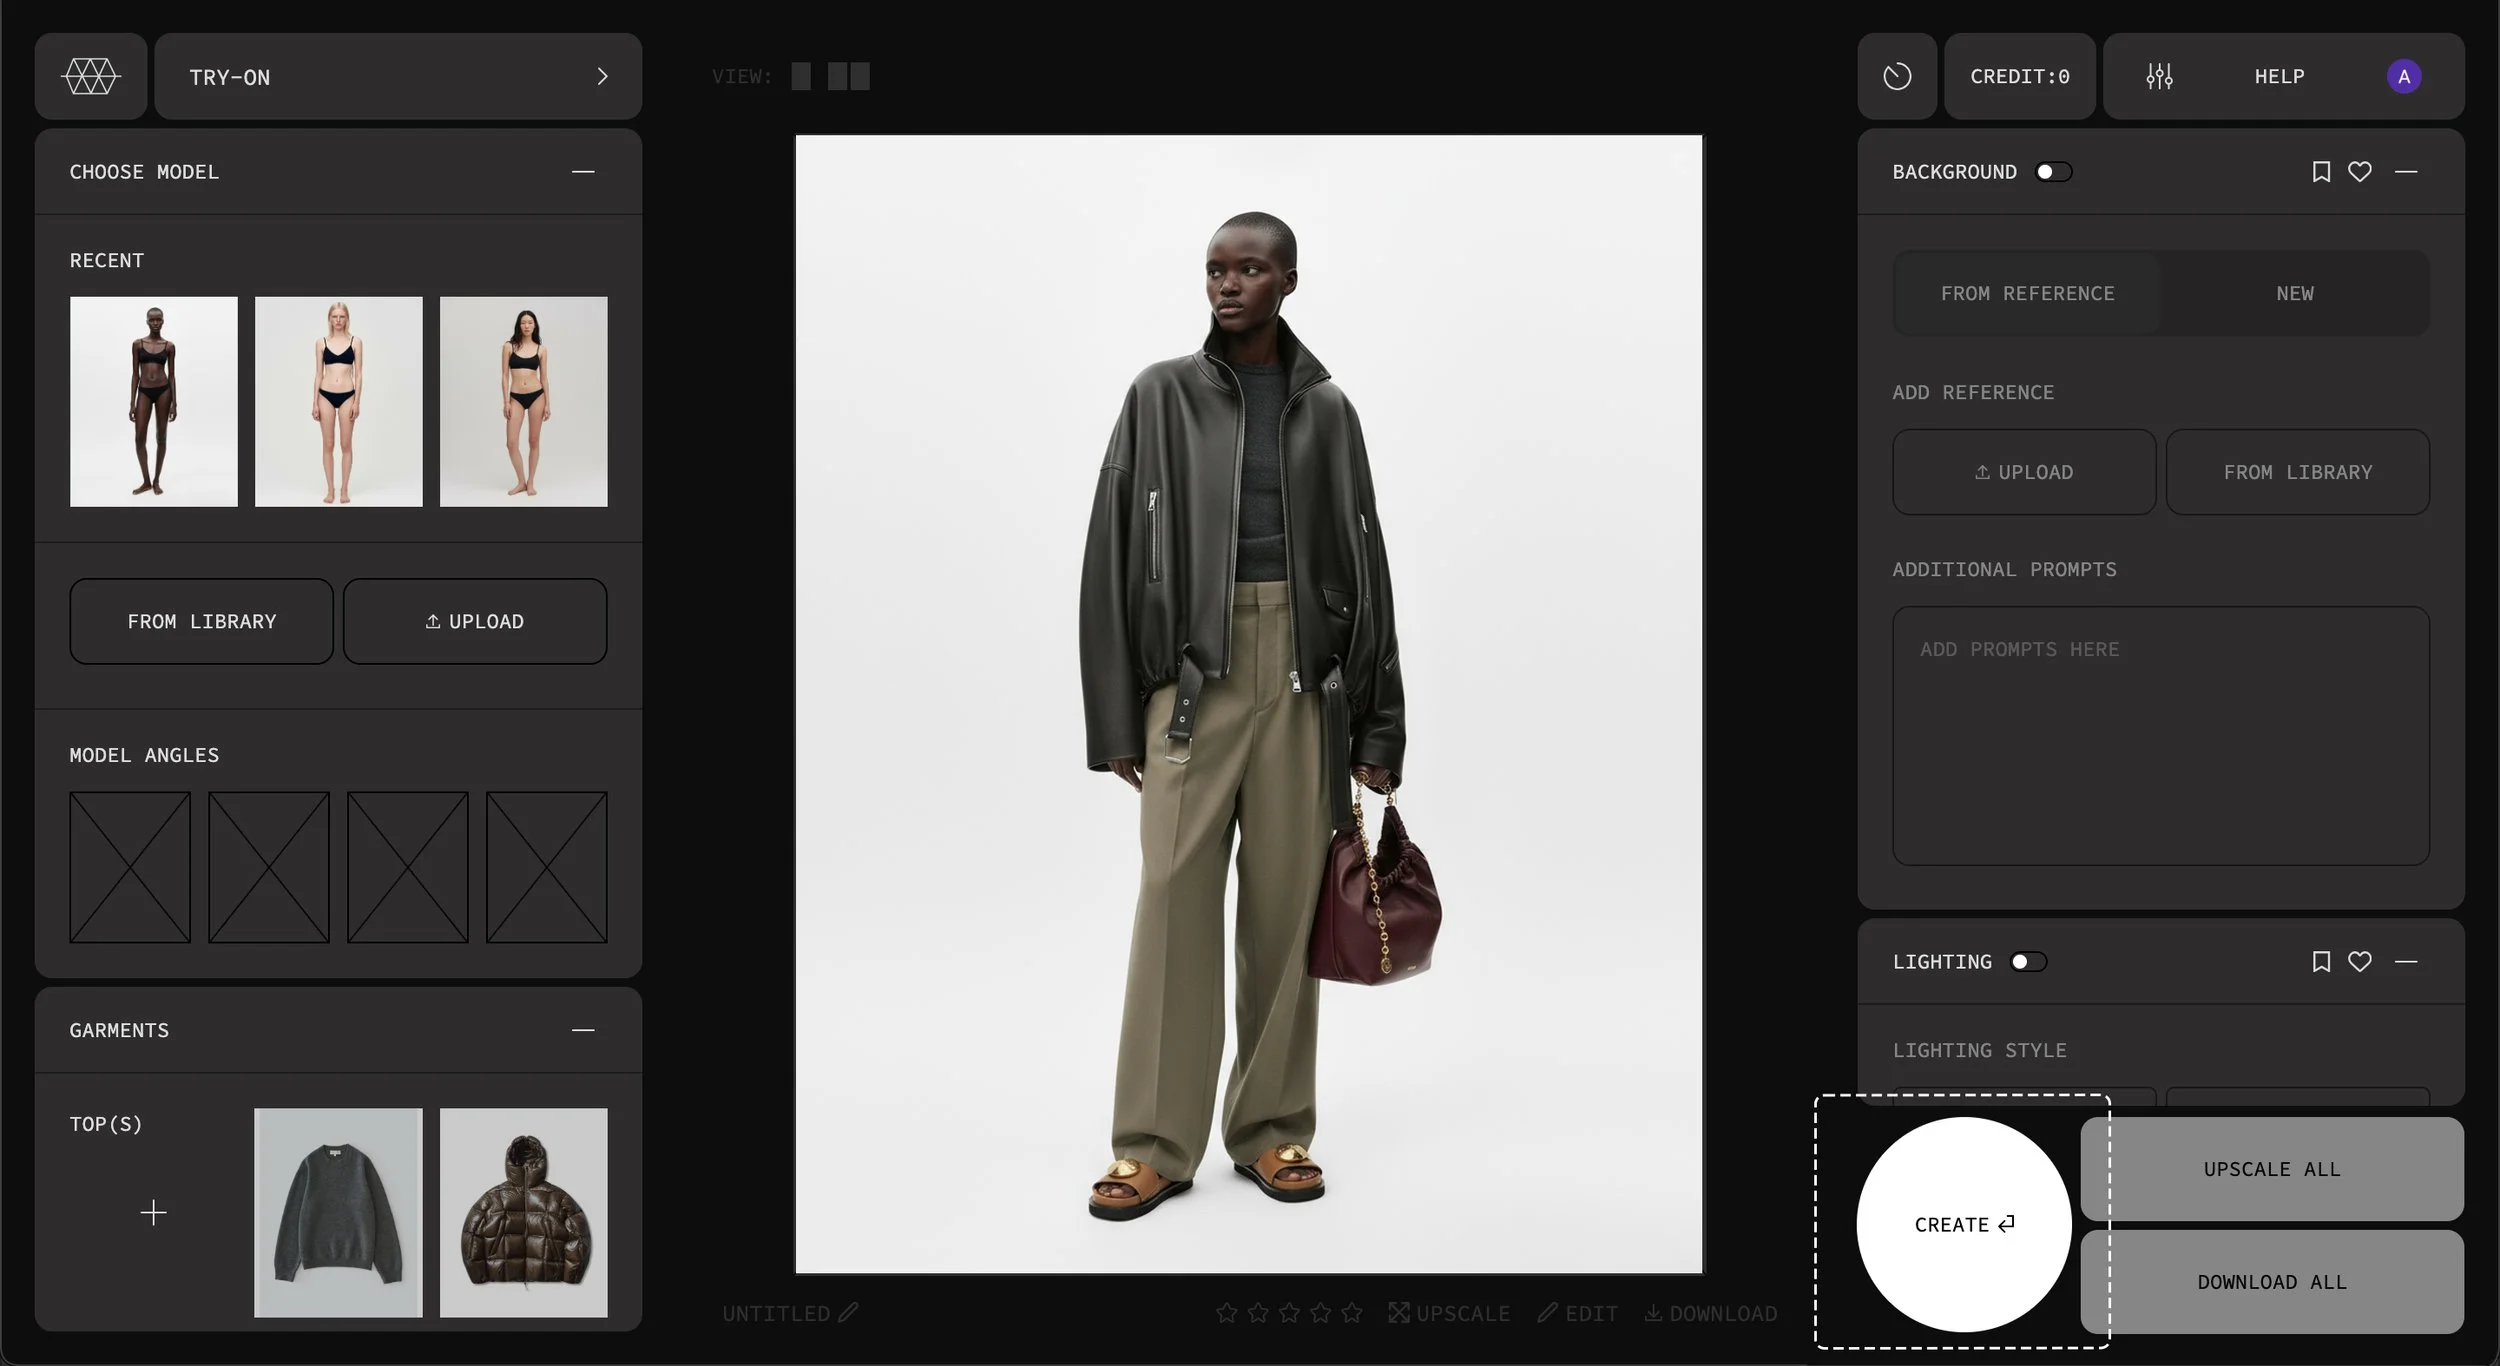
7. Once you are happy with all of your selections you can create your image. if you are not satisfied with the results you can make adjustments to the settings or try creating the image again. (it may take several attempts for the ai to understand the inputs)
002. CREATE A MODEL
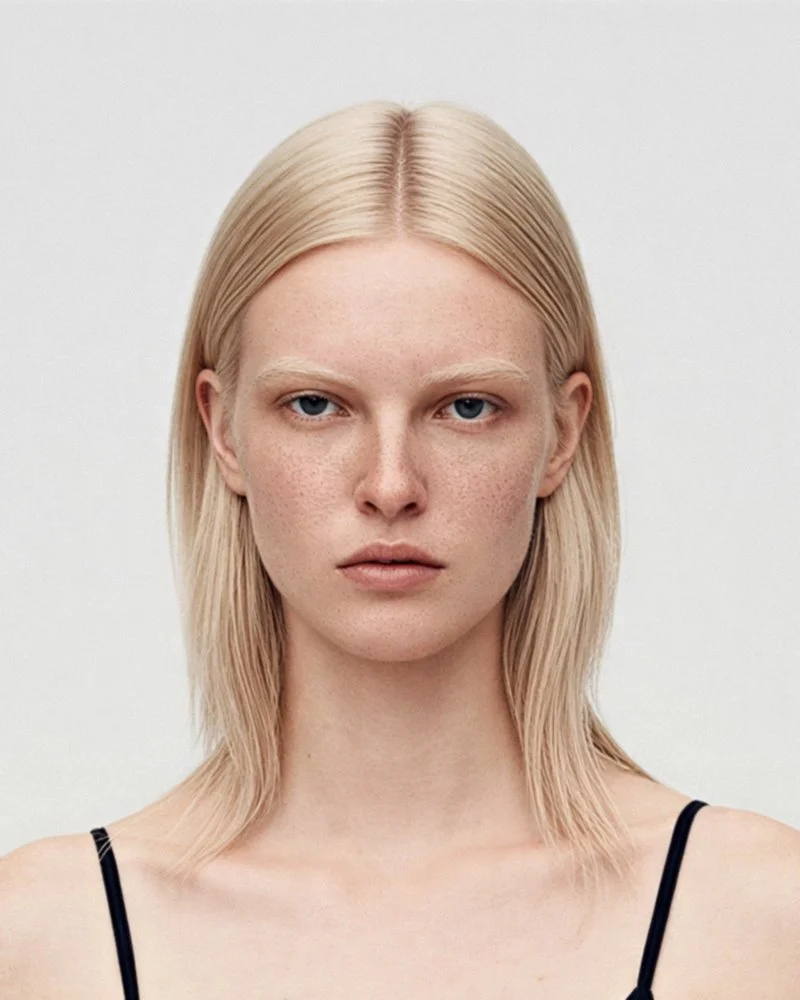
Create unique models with personality that match your brand's expression.
1. Enter a detailed description of how you want your model to look, including information like facial characteristics, hair style and ethnicity. Once your model is created they are automatically saved to your library in the ‘model folder’ (Library is accessed via the top menu).

003. sketch to image

Elevate your sketches by transforming them into compelling life like garment images.
1. add your original sketch image either through recently used images, from your library or via uploading.
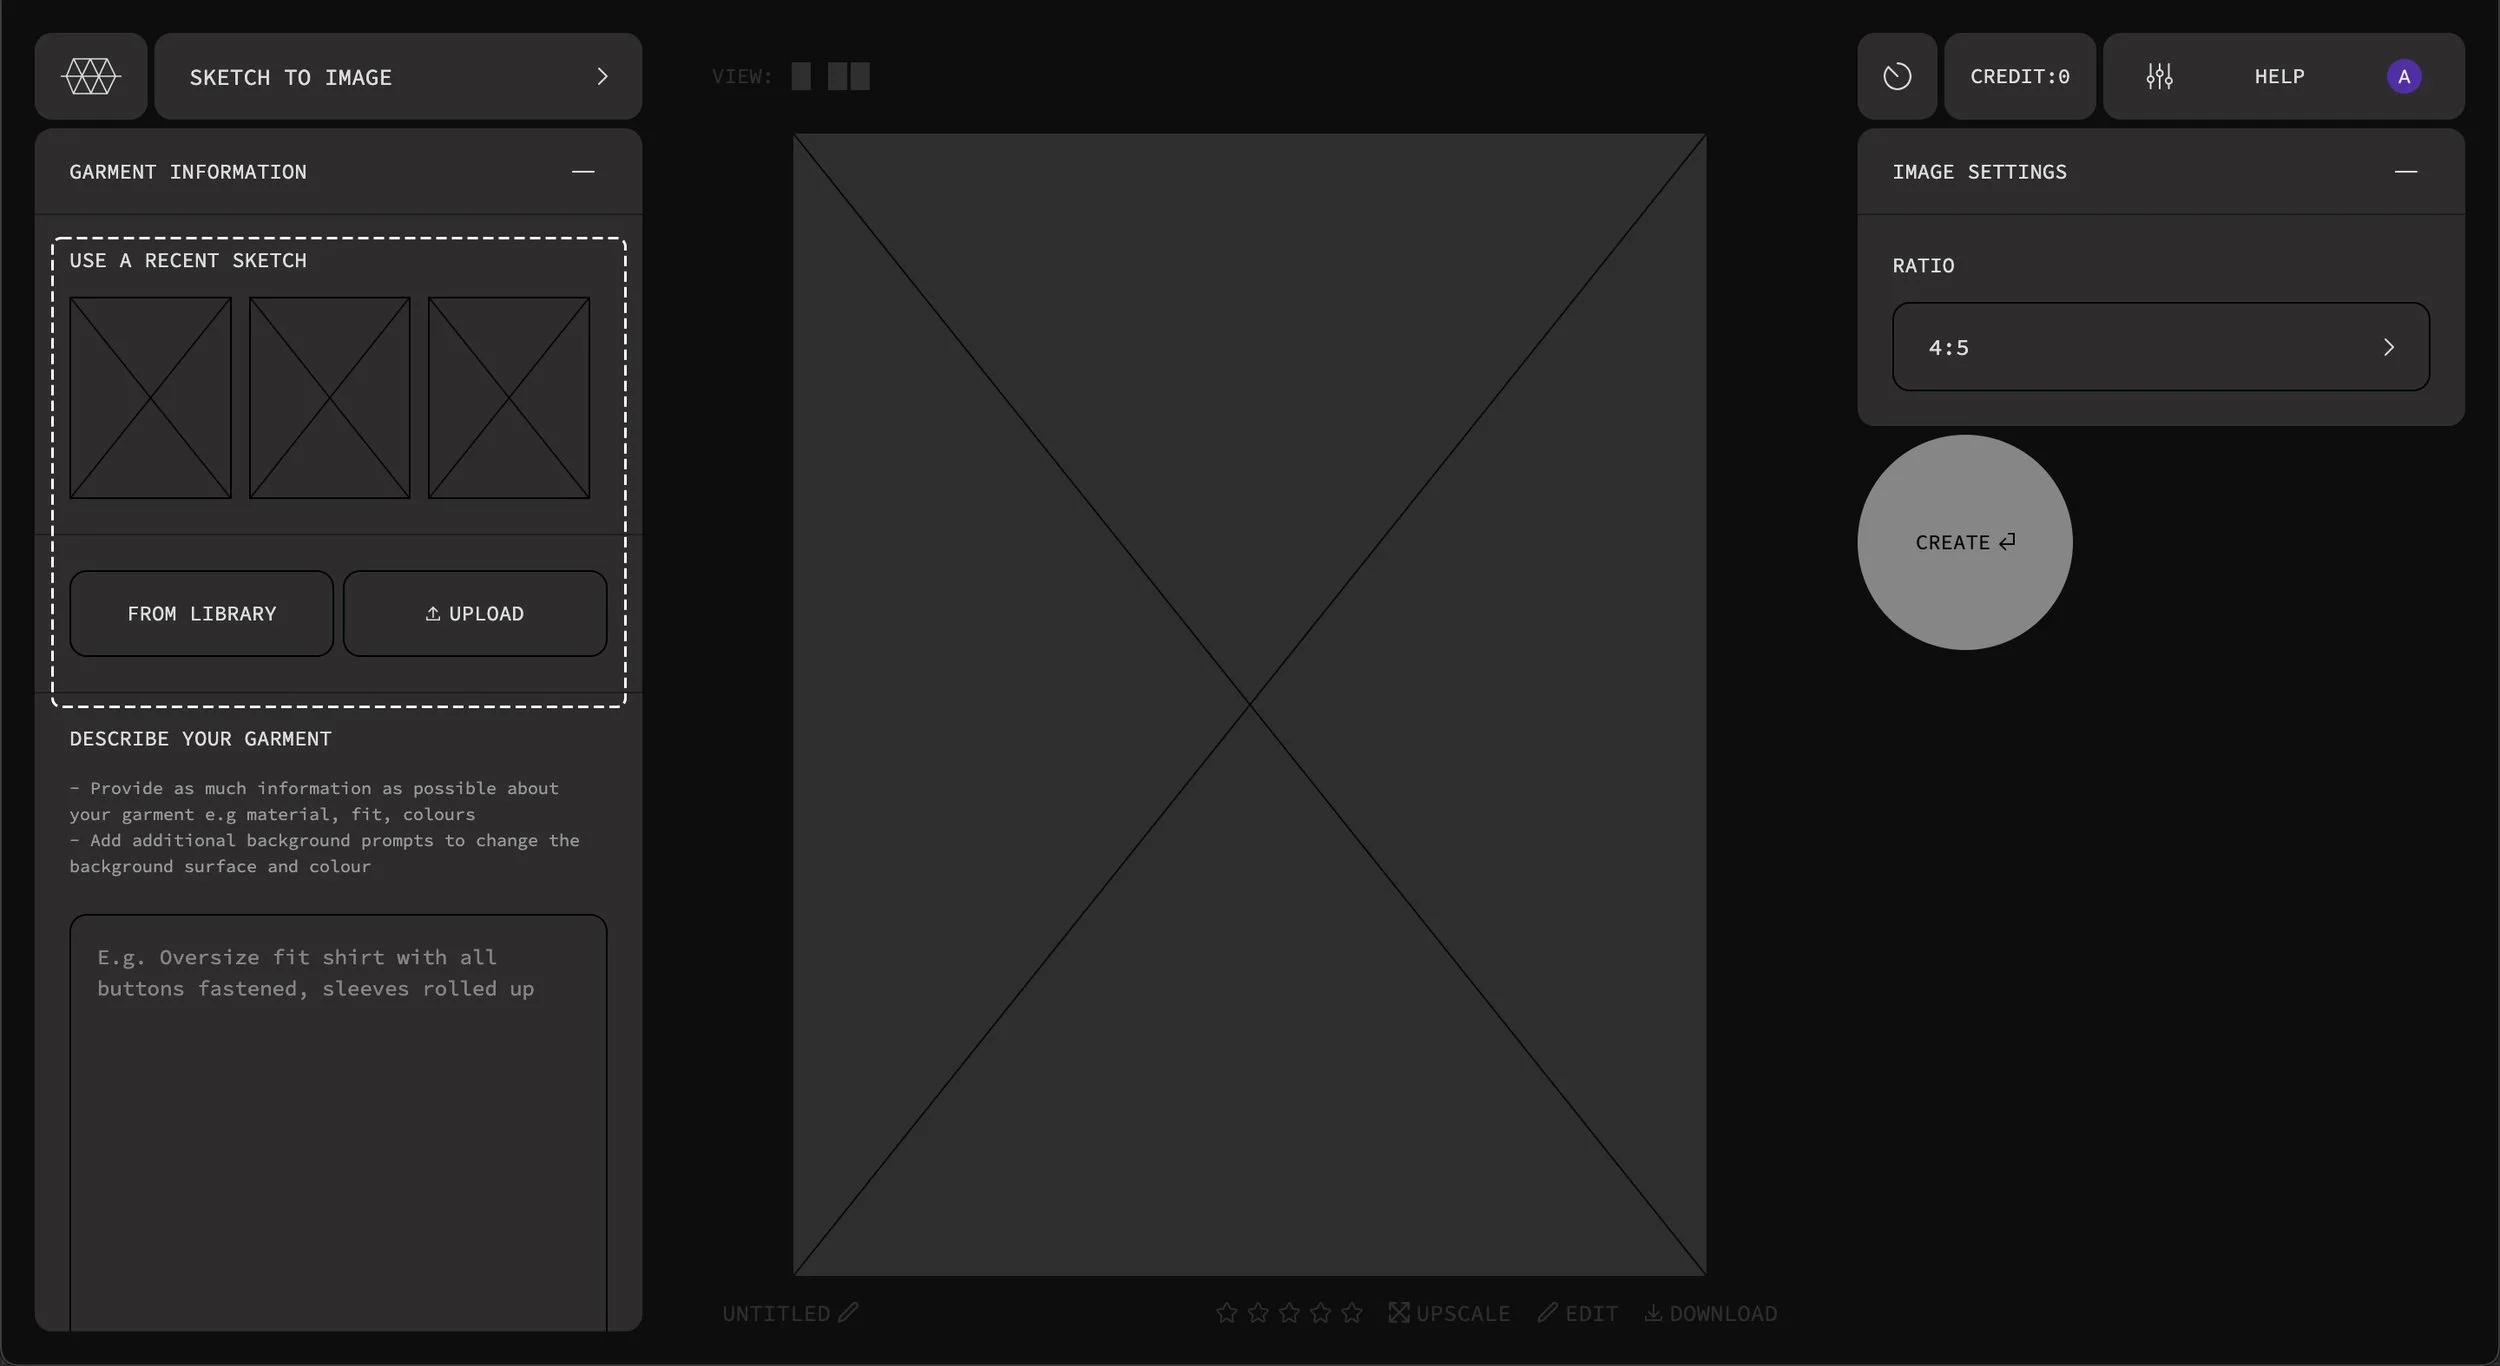
2. Describe how your garment should look in as much detail as possible e.g Material, fit, colour, trims, hardware. All created images are automatically saved to your library.

004. Video
Want to animate a style you already created? Choose how long you want it to move and upload a photo.
1. add your original image either through recently used images, from your library or via uploading.

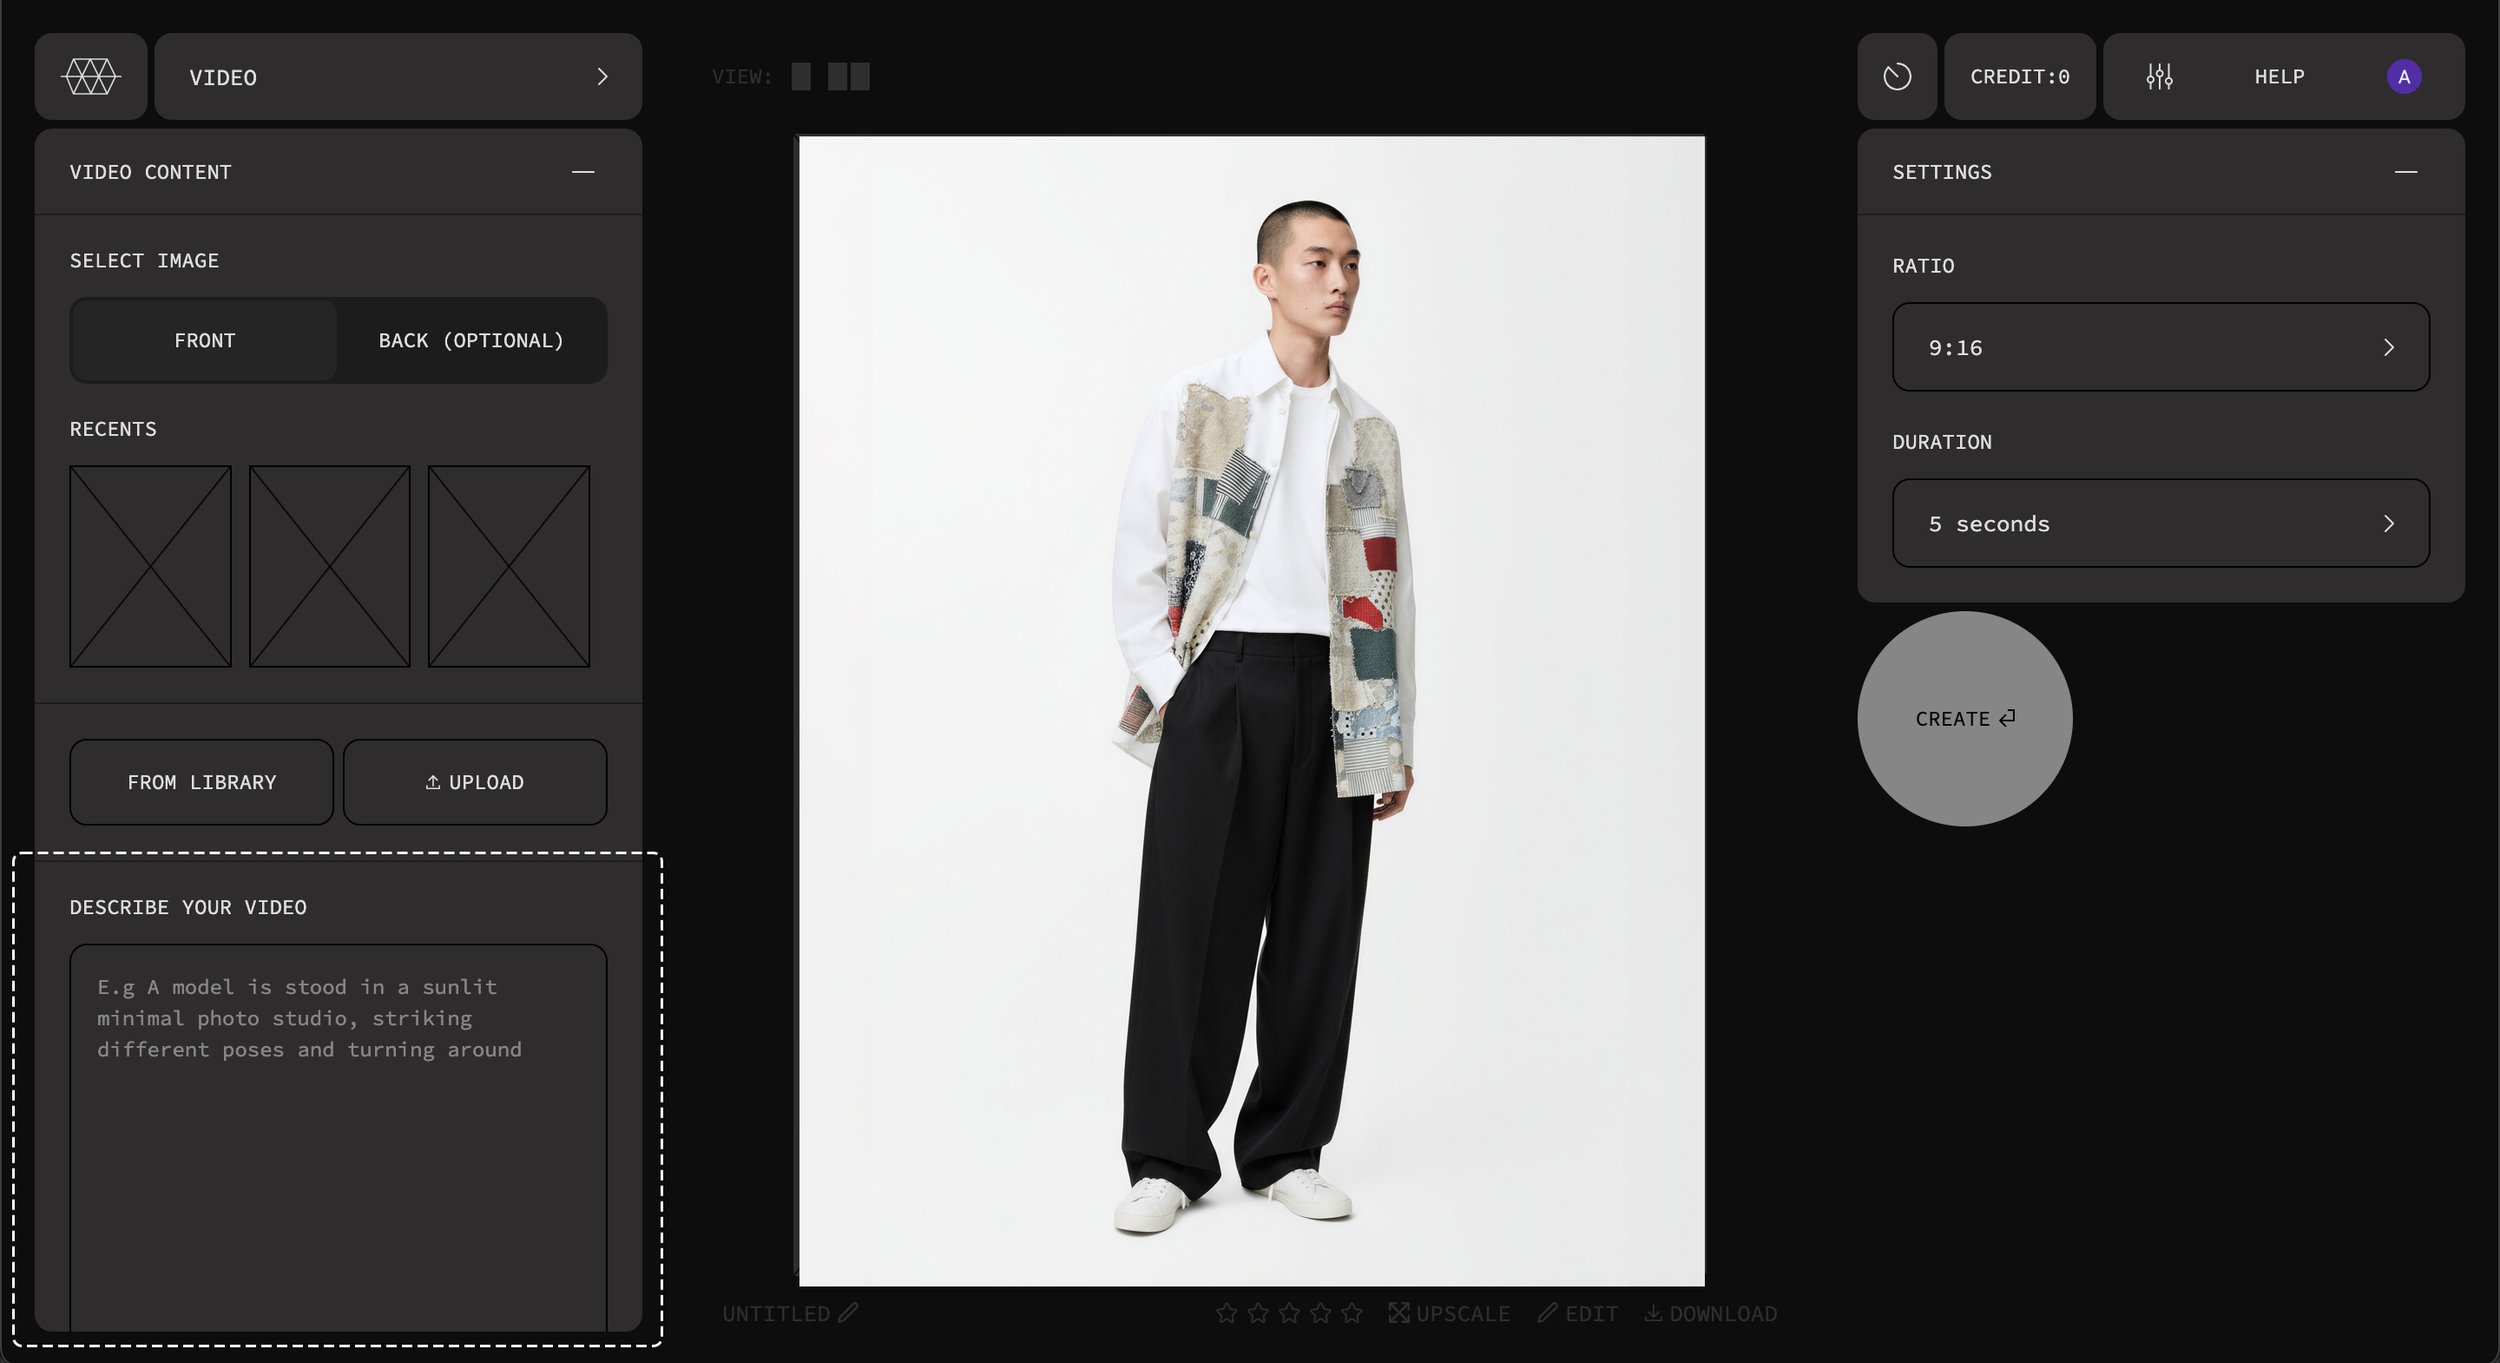
2. describe how your video should look in as much detail as possible e.g how the model moves, the models demeanour, what should happen in the background. All created vidoes are automatically added to the queue in the top menu. Once completed they are viewable in your library within the video folder.
005.Edit (Early version)

Fine tune your samples with our Edit tool and see in real time how your designs evolve
1. Once you have uploaded an image you can enter a text prompt that describes the editing you want to make e.g change colour, add pocket etc. You also have the option to upload a fabric swatch and choose a specific colour.

006. upscale
By default all created images are 900px wide. If you need an image to be larger in size you can use our upscale tool. Our upscale tool offers custom image enlargement up to 4500px wide. Upscale can be accessed through our library menu as well as in e-commerce imagery.
